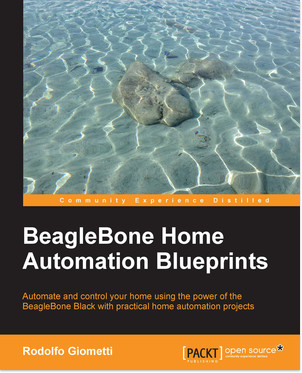
BeagleBone Home Automation Blueprints
Costruisci, installa e sviluppa i tuoi circuiti tramite tutorial passo-passo ed utilizza questa guida piena di esempi pratici per accedere a diversi tipi di periferiche per monitorare e controllare il tuo ambiente domestico.
Il libro è stato scritto dal nostro Co-Chief e Senior Software Engineer Rodolfo Giometti – Feb 2016 – 378 pagine
Caratteristiche principali
- Costruire, installare e sviluppare circuiti tramite tutorial passo-passo ed esempi pratici, dalla configurazione iniziale alla gestione driver di periferica
- Accedi a diversi tipi di periferiche per computer per monitorare e controllare il proprio ambiente domestico utilizzando questa guida
- Questo libro si sviluppa attraverso 10 capitoli tutti concentrati su di un unico progetto pratico di automazione domestica
Descrizione libro
La BeagleBone è un mini PC dove gira Linux. Può connettersi a Internet e può eseguire diversi sistemi operativi come Android e Ubuntu. La BeagleBone viene utilizzata per una varietà di scopi diversi, da progetti semplici come la costruzione di un termostato a quelli più avanzati come sistemi di sicurezza della casa.
Ricco di esempi reali, questo libro vi fornirà esempi di come collegare diversi sensori e ed attuatori alla BeagleBone Black. Imparerete come accedere ad essi al fine di realizzare sistemi di monitoraggio e controllo dai più semplici a quelli più complessi che vi permetteranno di prendere il controllo della casa. Troverete anche esempi software per implementare interfacce web utilizzando PHP/HTML e JavaScript, e come utilizzare le API per interagire con un account Google Docs, WhatsApp o Facebook. Questa guida è un tutorial prezioso se si prevede di utilizzare un BeagleBone Black in un progetto di automazione domestica.
Cosa si può imparare
- Costruire un rilevatore di CO (e di altri gas) con un allarme acustico e LED per segnalare alte concentrazioni
- Registrare dati ambientali e tracciarli graficamente
- Sviluppare una semplice interfaccia web con una piattaforma LAMP
- Preparare interfacce web complesse in JavaScript e come fare un flusso di dati video da una webcam
- Utilizzare delle API per ottenere l’accesso a un account Google Docs o un account WhatsApp/Facebook per gestire un sistema di automazione domestica
- Aggiungere un driver personalizzato per gestire un LED con diverse frequenze di lampeggiamento
- Scoprire come lavorare con vari componenti elettronici per costruire piccoli circuiti
- Utilizzare un NFS, sensori di temperatura, relè e altre periferiche per monitorare e controllare l’ambiente circostante
Disponibile su: Packt Publishing, Amazon, O’Reilly Media